Dimensional Inspection Service
With the help of our co-ordinate measuring machines (CMM’s,) 3D scanners and other apparatus we can verify that your part matches the original design. Our reports can quickly and accurately identifying any discrepancies between the part and the drawings or 3D model.
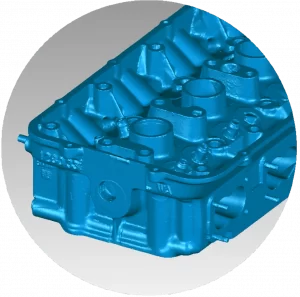
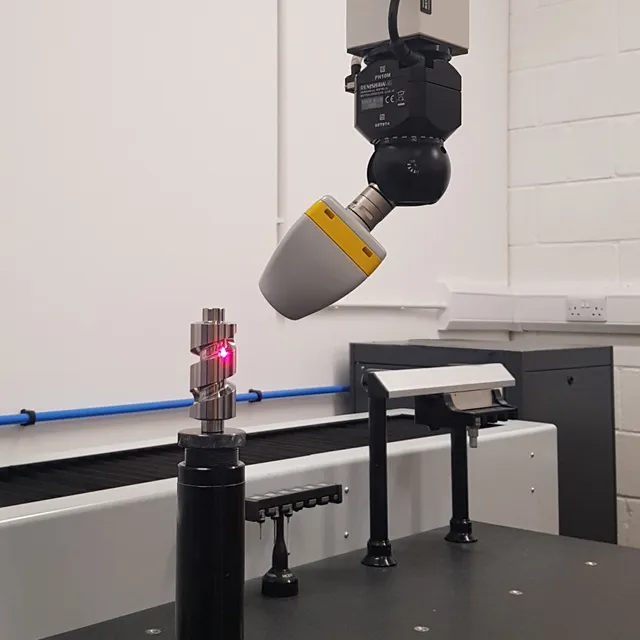
Using our state-of-the-art 3D scanning and CMM contact probing technology, we can acquire accurate geometrical and surface data for part inspection.
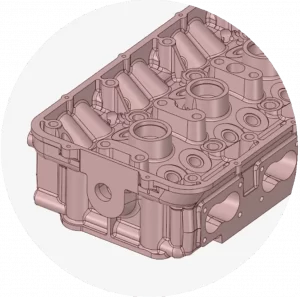
The data can be aligned and compared with either a CAD model, drawings or other scan data. Alternatively we can measure a part with no provided measurements. From this we can write complete inspection reports which include deviation analysis, feature comparisons, surface inspections and much more
When working at our Norfolk base we do so in our specialist built, temperature controlled inspection room to produce the most accurate data. Much of our equipment is fully portable however, so we can inspect at your site.
We would usually deliver our reports in PDF or Excel format, although we have many different options available, including branding them with your logo’s instead of our standard templates. We can also provide the raw measurement data for you to analyse in your own CAD systems.
How it Works
- We use our state-of-the-art systems to capture accurate shape and feature measurements from your part(s). You can bring your item(s) to our inspection room, or we can travel to you.
- Almost anything can be measured. Scanned items can be almost any size, although some reflective or absorbent materials may require extra preparation work. Our automatic CMM has a 1m x 1.5m measuring range although we also have portable CMM’s and laser trackers for larger or immovable parts.
- Once we’ve taken the measurement data from the part we can compare it with a reference CAD model or drawings to check it is within tolerance and identify any differences between the model and the part.
- We can present the results in numerous ways, including easy-to-read PDF reports or as manoeuvrable 3D PDFs.
Our Equipment
We have a vast selection of digital and manual measuring apparatus for onsite and offsite inspection of most items. Our apparatus includes:
- LK CMM with SP25 Scanning probes, TP20 Touch probes and multiple Nikon laser scanners
- Werth Scope Check optical CMM with additional TP200 probing
- Renishaw Equator CMM compartor with SP25 scanning probes
- Faro Arm Portable CMM’s & HD Laser Scanner
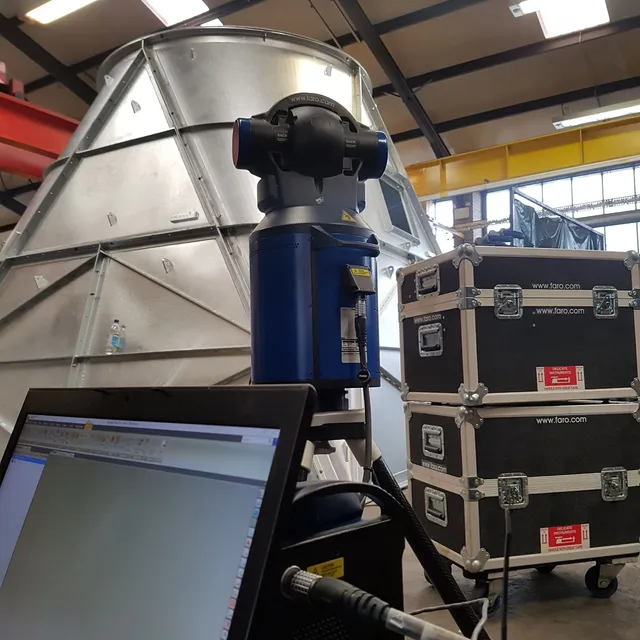
- API Laser Tracker for large scale metrology
- Mahr roundness tester
- Mitutoyo surface roughness tester
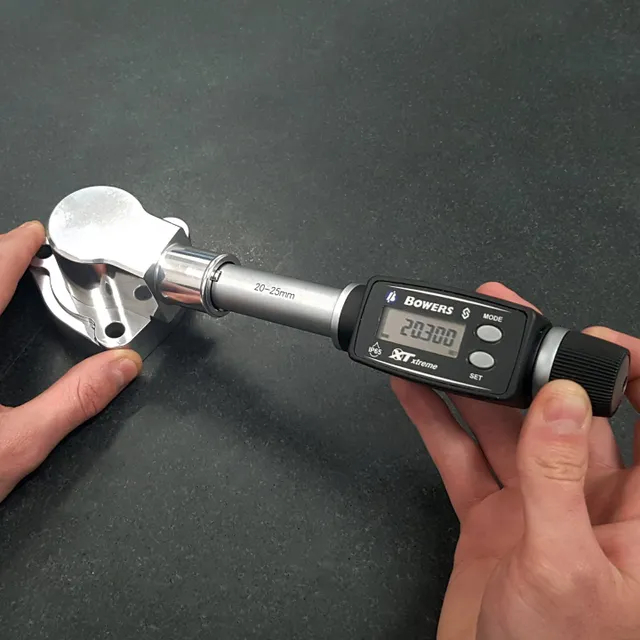
- Mitutoyo & Bowers 3 point bore gauges from 2 to 200mm
- 100’s of thread gauges covering a lot of Metric, UNF, UNC, BSF, BSW, B.A. and Pipe threads.
- 1000’s more pieces of measuring equipment including: height gauges, micrometres, depth gauges, caliper gauges, pin gauges & much more.
